discovering a simpiler life

discovering a simpiler life
Showing posts with label Recipes. Show all posts

Wednesday, 9 September 2015

grated plum shortbread slice

I love going to our local library and borrowing cookbooks - I read them before bed, I read them over breakfast and although I may not always make much from them all, something about the glossy print and food porn appeals to me.  

Lately my muse has been baking cookbooks and I stumbled across the hairy bikers big book of baking which is packed full with recipes from around Europe. Imagine fruity, cheesy, nutty, bready delights and you will get the picture.

One recipe that intrigued me was their Easy shortbread squares.  It calls for you to make the shortbread dough, split it in half, freeze then grate to create the slice - I had to try it out.  My additions to the recipe are in the brackets.
Easy shortbread slice by the Hairy Bikers - from their big book of baking.
Makes 12 squares
This is a cheat's version of linzer torte - the classic Austrian lattice-topped tart. It's perfect if you're not very confident with pastry and you want a really easy treat as there is no rolling involved - just grating.  Watch your fingers though! You'll need a 20cm loose based square cake tin. (I used just a normal 20cmx20cm square cake tin)

Ingredients
225g butter, softened, plus extra for greasing
200g golden caster sugar (I used plain sugar)
1 tsp vanilla extract
2 large egg yolks
275g plain flour
1 tsp baking powder
300g seedless raspberry jam (I used homemade plum jam)
1 tbsp icing sugar ( I didn't use)

Method
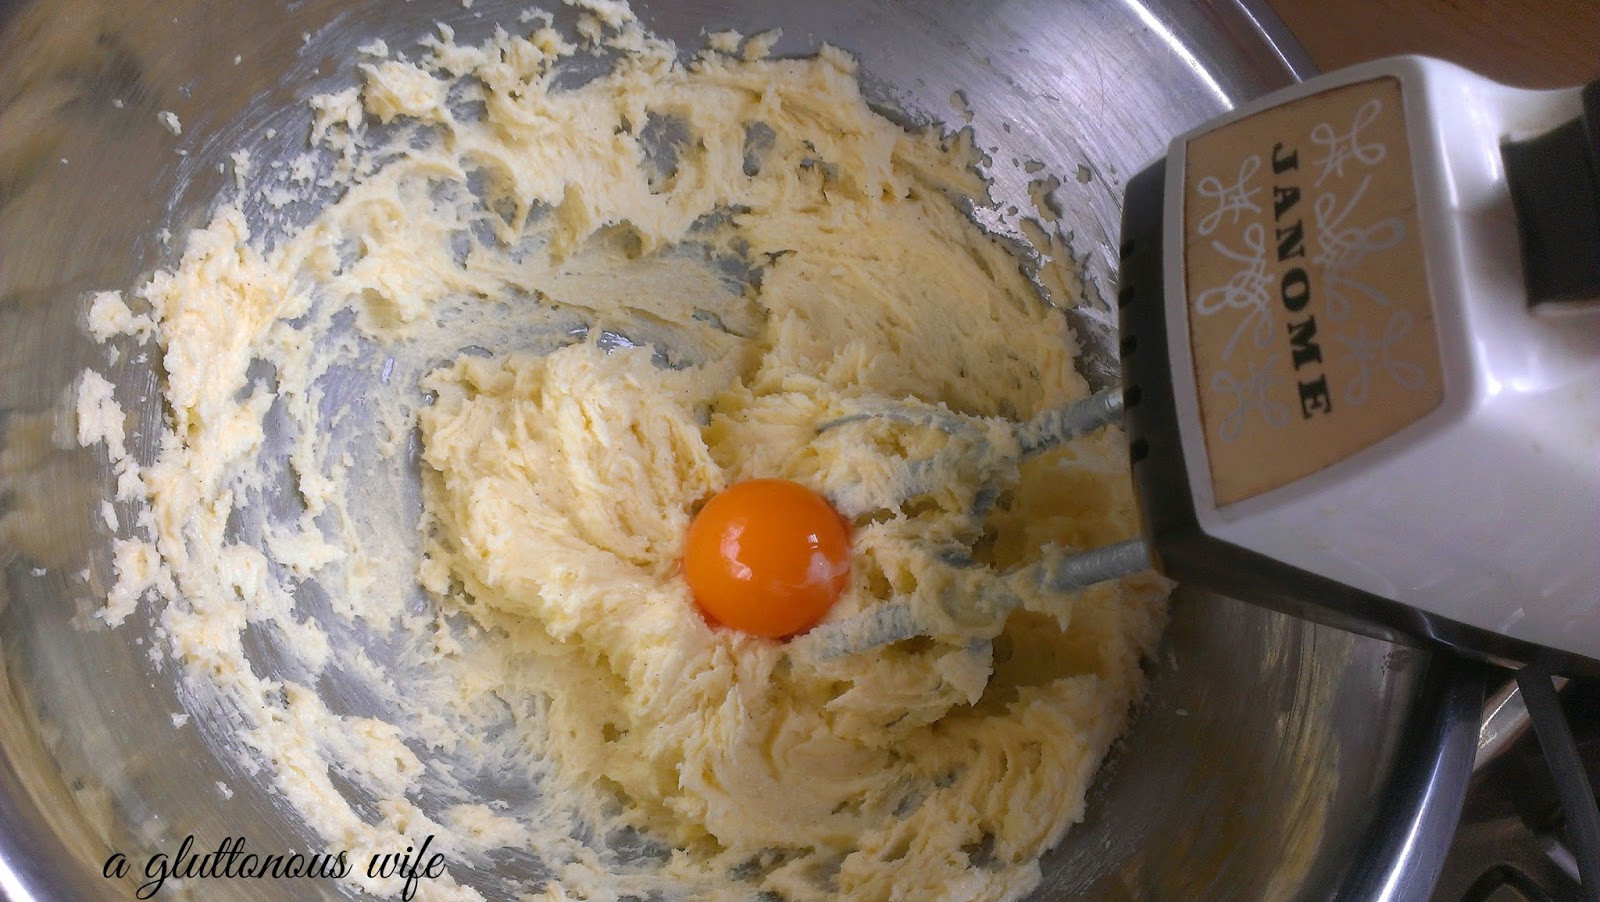
  1. Using an electric hand-whisk, beat the butter with the sugar and vanilla extract until pale and fluffy.  Beat in the egg yolks 1 at a time, then sift the flour and baking pwoder on top.  Beat the dough with a wooden spoon until it is smooth and light, then divide it into 2 equal portions and form them into balls.  Wrap the balls of dough in clingfilm and freeze for 2-3 hours or overnight.
  2. Preheat the oven to 170c/fan150c/gas3 1/2.  Grease a 20cm square cake tin with butter and lin the base with baking parchment. (I use cooking spray instead of greasing and line the whole tin).  Put the jam in a small saucepan and warm it over a low heat until fairly runny, stirring occasionally.
  3. Remover a ball of dough from the freezer and coarsely grate it on to a board, making sure it doesn't become too compacted.  Tip the grated dough from the board into the prepared tin and scatter it evenly with your fingertips.  Whatever you do, don't press the dough into the tin - needs to remain in strands.  (this is a work out let me tell you now!! hard graft)
  4. Using a dessert spoon, drizzle the jam over the grated shortbread (I let the jam cool somewhat before doing this), but do not spread it.  Take the other ball of dough out of the freezer and grate it coarsely on to the board. Sprinkle it evenly over the jam, again resisting the temptation to press it down.
  5. Bake the shortbread for 40-50 minutes or until pale golden borown and set, then remove it from the oven and leave to cool in the tin.  Loosen the sides of the shortbread with a round-bladed knife and carefully take it out of the tin. (I just left mine to cool in the tin for 10 minutes then lifted it out using the overhang of the parchment)  Peel off the lining paper if necessary.  Dust the shortbread with sifted icing sugar and cut in into squares to serve.  (I actually didn't even see this when I made it so didn't do it!!)


I'm heading back to flick through it one last time before it's due back as there's so many more recipes I'm keen to try!

Ciao, Jan x 

p.s. I am not being paid nor do I have my arm twisted to say these words about the hairy bikers :)


Sunday, 6 September 2015

very best banana cake muffins ever

I was busy getting our dinner off to a flying start one night last week, when out of the corner of my eye I spied my daughter sitting on the couch with a spoon in her mouth and the tin of milo in her lap...she looked like she was in heaven. The last I'd heard of her she was making a milk milo but obviously she decided to ditch the milk!  I instantly scolded her and got her to put it away.  
When I turned my back, a thought came over me.  Kids aren't allowed to have a binge, they aren't allowed to have a bad day, they aren't allowed to have the poops or sulk, or play hookey or be naughty or yell, or scream in frustration....they really have to be seen as perfect all the time.  I wonder why this has happened? Such pressure for them to live under.
 I turned back around and opened the cupboard and gave her the tin and a spoon and she had the biggest smile on her face.  Truthfully, she probably only had a few big tablespoons worth but it was just wonderful to see her so content with such a simple guilty pleasure.  

Anyway, something that will be eaten, possibly late at night, straight from the freezer, is this recipe for the very best banana cake ever and cook along with the lovely Lorraine from NQN ...ok so I made them into muffins but it helps with portion control :)  It's a strange recipe that has a low cooking temperature and then the muffins/cake is put straight into the freezer to cool.  Have a read of Lorraines post and recipe and tell me you aren't in faux sara lee heaven!!  The batter made 18 muffins and they were baked for 1 hour instead of the 2 hours for the cake. Oh, and be warned that the cream cheese icing is so freakin addictive, it was lucky to make it onto the muffins.  We did have lots of precious licks of the beaters and swipes of the bowl that I'm sure is naughty but oh so nice.


Ciao, Jan x

Monday, 10 August 2015

Mama's Scones

This is a re-post of a post I did back in October 2013...It's international scone week and I'm hooking up with the lovely Tandy from Lavendar and Lime who is hosting the big event.  Time hasn't and won't be on my side this week hence the re-post, but it's well worth a read and this scone recipe is the bomb!!

We had the most lovely impromptu afternoon tea yesterday.  
We were meeting up at my nan's, well she's called Mama actually, to have a play with one of my cousins daughters after school.  
When we walked through the door, much to my delight, 
Mama had the flour container out and her apron on.  
It meant only one thing....Scones!! You are in for a treat.

Mama's Scones
3 cups s.r flour, sifted
pinch salt
small tspn caster sugar
2 tbspns butter, grated OR 3/4 cup cream
1/4 cup of milk of using cream OR 1/2 cup of milk if using butter, or maybe a bit more.
Preheat oven to 250c.  Grease a baking tray.  Sift flour into a large bowl and add salt and sugar.  Grate the butter in and rub together to form crumbs then gradually add the milk, using a long bladed knife and a cutting action through the dough OR if using cream, mix cream and milk together and gradually add to flour using the knife and cutting action.  You are aiming for it to come together, not too moist, not too dry.  Unfortunately this is something that comes with experience, feel and trial and error, but I've taken lots of photos to help me remember!  So here we go....


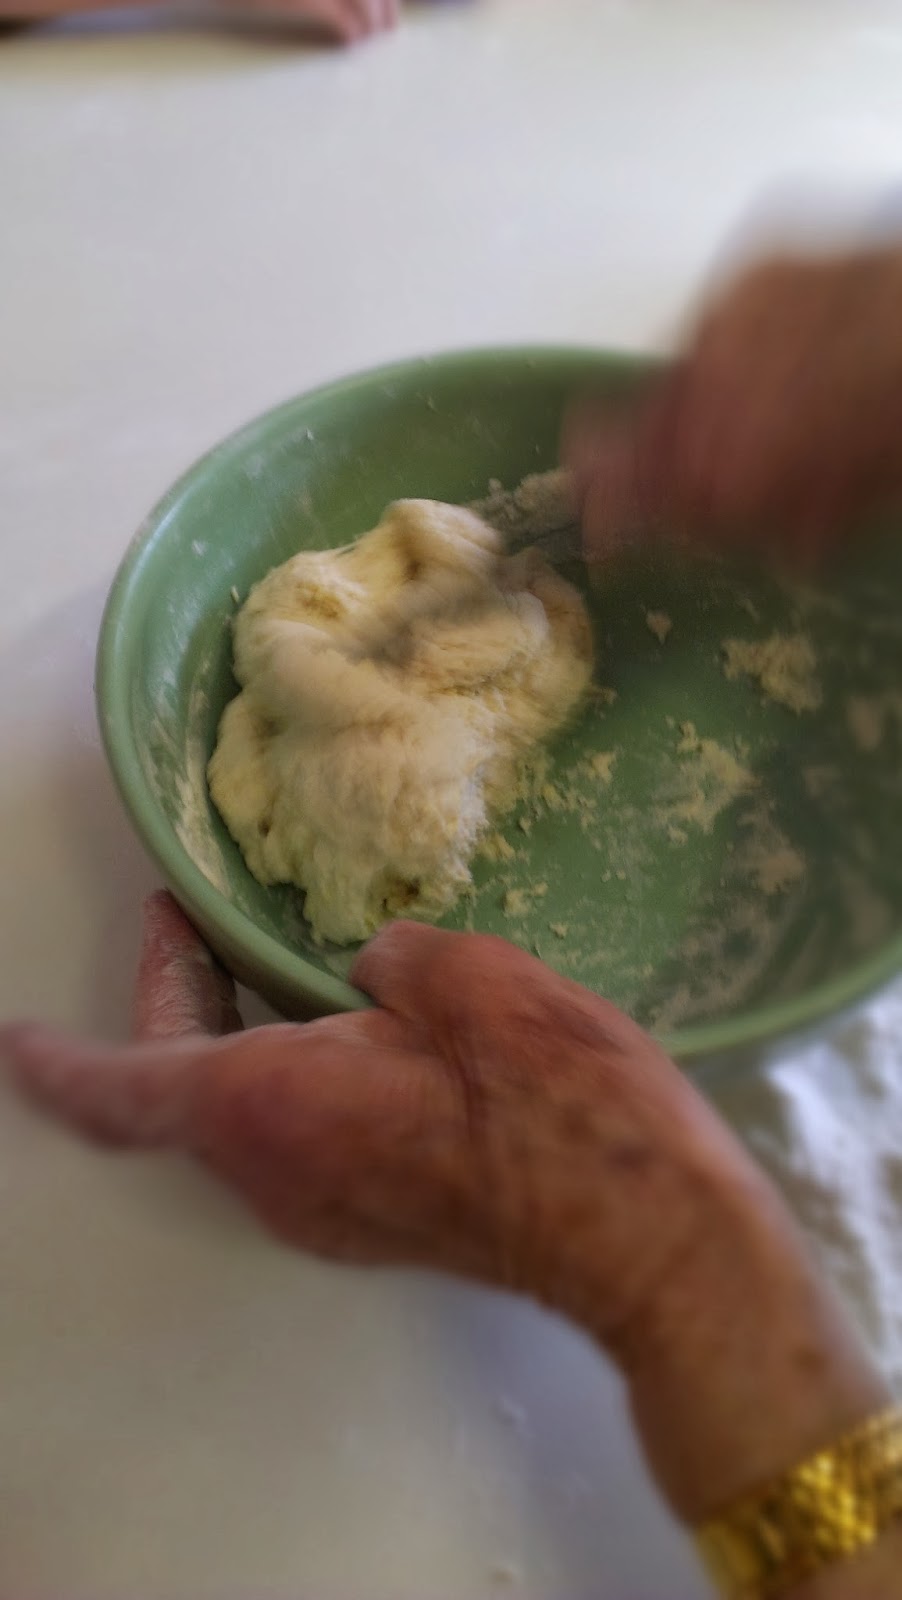
Look at those hands at work.  Mama is almost 88 yrs old, an amazing woman who bore 11 children and too many grand, great and great, great grandchildren to mention, all who she has influenced along the way.  Mama is the glue that holds our family together.  She is affectionately know as Mama by all our friends, partners, husbands and inlaws.  When I started taking the pictures she initially didn't want her hands taken but we then both agreed that they were an amazing set and had weathered extremely well, and so its with pride I show them to you.
Mama is the scone wizard, 
these were whipped up in under 2 minutes, 
with little helpers expertly kept at bay but all the while with enough involvement to keep them satisfied.  
She is held in high esteem among our large family as the only one that makes the scones.  
I asked if I could do it but she said "Not today, I'm in a hurry"


No cutting them with a knife, a scone cutter is the only way


Yes they taste as good as they look!  
I was taking lots of photos and Mama kept saying, 
"don't forget to tell them they need to use fresh flour", and 
"don't forget to tell them that they are meant to be touching each other on the baking tray but I don't think you need to", and 
"don't forget to tell them the oven must be hot", and 
"don't forget to tell them to be gentle: don't use a rolling pin~my mum use to say go gently."  
So I'm telling you all!  
I'm surprised she let me share the recipe, and I promise the recipe is missing no secret ingredient.
They were devoured with hot cups of sweet tea and lots of talking with the grandies eating til they couldn't move, smothering theirs with runny cream as well.  
It truly was an afternoon that memories are built and relationships are strengthened.  I remember doing this with her when I was little, how lucky our little ones are to get to do the same ritual.  
So it is with a warm heart that I share this post with you.  I'm so pleased I finally got this recipe documented!

Ciao, Jan

Thursday, 6 August 2015

Nan's nutloaf

Long time dear readers will know I have been blessed with two wonderful Nan's.  One is known as Mama (my mum's mum) and the other Nan (my dad's mum).  Even luckier is the fact I still have them in my life.  When I was growing up, they both had a big influence on my life, although I didn't realise it at the time.
Mama had 11 children, raised on her own (she is a saint), and had a big hand in helping raise the grandchildren that ensued.  She was our babysitter as there was no daycare in those days, so her house was a riot of yelling, feeding and where you were usually pushed out of your seat to an older cousin. I was one amongst a million but we all felt loved and cared for even if it wasn't with a gentle touch.
Nan's house was different.  It was quiet and everything just so.  When we had any meal, the table was set with a tablecloth and I just loved doing those jobs. There was always a chair for me.   Nan and Pop  had 2 sons and a smaller extended family.  I was the only granddaughter gifted to Nan so you can imagine the word spoilt came up often.  My pop spent most of his time in the back vegie patch and was rarely inside.  I spent every Saturday and Wednesday night with Nan while my parents worked and it was a treat for her to pick me up from Mama's and I'd go around and kick the older boy cousins that had been a thorn in my side as I had my biggest ally with me....although they had long memories and I'd be in for it when I returned.

Saturday we baked and went to the local football.  Nan was a wonderful baker and quite often it would be this nutloaf, other times it might be rock cakes or her melt in your mouth shortbread.  I'd sit up on the bench and help measure and mix, and the biggest job of all - licking the spoon and bowl. The smells would make my tummy rumble.
Before we headed off to the football, Nan would take me up to the bathroom, dampen my fringe and give it a little trim, we'd both put red lipstick on and off we'd go with a hot thermos of sweet tea and our baking.

It was while I was baking this nutloaf that all of these memories came flooding back to me like a warm hug.  The smell of the spices put me straight back to Nan's kitchen and a smile settled on my lips for hours.

Nan's nutloaf
1 1/2 cups of self raising flour
pinch of salt
1 tspn mixed spice
60gm butter - at room temp
1/2 cup caster sugar
generous 1/2 cup of walnuts, roughly chopped
generous 1/2 cup of sultanas
1 egg, beaten well
1/2 cup milk
  1. Grease the nutloaf tin and pre-heat oven to 190c/375f.
  2. Sift flour, salt and spice into a medium sized bowl.  
  3. Using your fingertips, rub the butter into the flour mix until it resembles breadcrumbs.
  4. Add sugar,, nuts, sultanas and stir through.
  5. In a seperate small bowl, whisk together the egg and milk.
  6. Add egg mixture to flour mixture and stir to combine - gently and don't over mix.
  7. Leaving the bottom on the nutloaf tin, fill with the cake batter and bake - keeping the tin upright when you put the top on and into the oven.
  8. Bake for approx 50-60minutes - you will smell it when it is ready! Though you can take the lid off and check with a wooden skewer - if it comes out clean the loaf is done.
  9. Leave in the tin on a cake rack to cool for at least 10 minutes before you take the loaf out.
  10. Serve sliced with butter and a cup of tea - perfection!


I'm sorry there isn't any nice photos of the nutloaf slathered with butter but I made this during the day in anticipation of my Nan coming for dinner.  I've been doing Wednesday night dinners for her and my dad ever since I had my little one which is a family tradition I love.   I'm always worried when I am doing one of her recipes and just hope it comes in close.  As I dished it up, she told me that she hadn't baked nutloaf in the 8 years since Pop passed away, it was his favourite.  As she sipped her tea and ate a slice, she smiled and said it was as good as hers.  What a compliment, I think I could have shed a tear.

And that my dear reader is why I love to cook and bake - it just warms my heart.

Ciao, Jan x

Tuesday, 28 July 2015

Miso roasted cauliflower


I was looking through all my photos yesterday, in anticipation of the up coming In my kitchen series, when it dawned on me that I'd better do some seperate posts otherwise my next installment would be too long.
I'm not one for following trends but I have fallen head over heels for this miso coated cauliflower.  I know, the Japanese have been slapping it on everything for centuries but any wonder!  It is salty and tangy and perfect with this cauliflower and another excuse to have the oven in during this bitterly cold winter I'm in the middle of.
I'm using Shiro Miso paste and all you need is around a tablespoon of it, mixed with a dash or 2 of boiling water to loosen the miso up, a pinch of chilli flakes (optional), cracked pepper and if like me you like to hide chia seeds in everything, a sprinkle of them too.  Cut up a 1/4 of a cauliflower into flowerettes and coat well by tossing in a bowl.  Place on a baking tray with baking paper into an oven preheated to 180c for around 20 minutes.
I had it with left over roasted vegetables from the night before (pumpkin and sweet potato), reheated and paired with rocket, feta, walnuts and a spritz of lemon....miso love it!!

Ciao, Jan x

Saturday, 9 May 2015

Apple flower tarts


Brrrr we're in the middle of an early winter weather hit in Autumn and I'm loving it.  Perfect weather to have the oven on and snuggle in and cook.
I fell in love when I first saw these adorable apple tarts.  
Even better was a cook with me challenge hosted by the lovely Lorraine for me to join in and make them.  If you do feel the urge to join you in have a few days to get your skates on, all the details are on the post link above.  They actually are quite easy, although you need to take your time when rolling them as they are slippery suckers.  If I'm honest, next time I would use a red apple and maybe coat them in the jam as well perhaps.  Either way, they are so pretty and perfect for impressing any wonderful Mum this mothers day - they are a present to myself!! :)
I won't go into the hows and wherefores, just follow to see Lorraines recipe and fab video tutorial - you really can't go wrong.  Here's my attempt:
We luckily have a granny smith tree housed in the chicken run.  
It's not been the best year for them but I'm hoping my ladies will clean up the coddling moth and next year's crop will be stella.


I used quince jam given to me from a friend as the 'glue'


Happy, happy mothers day to all the mums out there - it's the hardest job in the world if you care about doing it well - so take a bow and an offering of one of my tightest squeezy hugs.

Ciao, Jan x

Sunday, 3 May 2015

Christening my baby

I was so excited to share my new arrival the other day but with all that was going on it was only today that I actually got to christen my new baby - KromillA - thanks Kirsty!

I had the perfect recipe up my sleeve - Susan's lemon zinger loaf cake.  As luck would have it I have a dealer as a good friend - a dealer of lemons! Oh how lovely to have them back in my kitchen - nothing beats having a bowl full of them to play with.

Wowzers, I've been slumming it with my old dodgy pre-loved cheap mixer....This KitchenAid is a miracle worker.  Not only does it look fantastic on my bench ;) but it really, really gets all of the ingredients mixed up in a flash.  My old red baron needed extra help as it never mixed in all the ingredients at the bottom so it sort of put me off using it - but not now! I'm already making a list and hoping I can feed many a sweet or bready treat.


So, how about them lemons.

Ciao, Jan x
Related Posts Plugin for WordPress, Blogger...